Welcome Wizard
The Welcome Wizard appears automatically after your first login. It helps you quickly set up the application so you can start using it right away.
How Does It Work?
The wizard guides you through a few simple steps. At each stage, you make one choice — there's no rush, you can change everything later in the settings.
 Welcome Wizard — greeting
Step 1: Interface Language
Choose the language you want to use the application in:
- Polski — entire interface in Polish
- English — interface in English
 Welcome Wizard — language selection
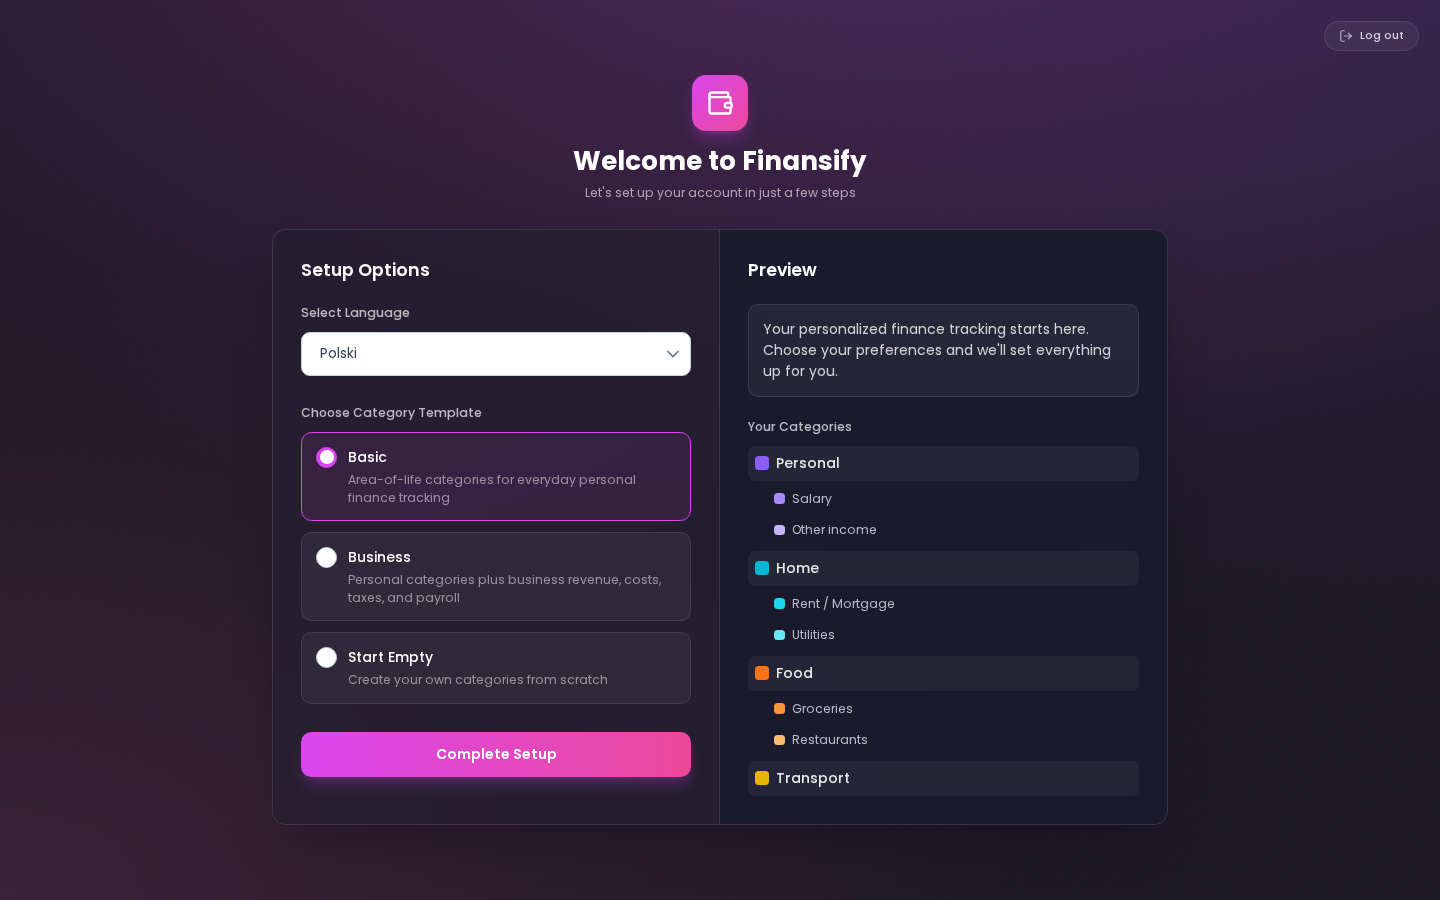
Step 2: Category Preset
Finansify has prepared ready-made sets of expense categories so you don't have to create them from scratch. Choose the preset that best fits your situation:
Presets are pre-built category trees (e.g., "Food" with subcategories "Groceries", "Restaurants", "Cafes", etc.). You can modify them later however you like — add new ones, remove unnecessary ones, rename them.
 Welcome Wizard — category presets
Step 3: Demo Data (Optional)
If you want to see how the application looks "in action" first, you can choose the option to generate demo data. Finansify will create sample wallets, transactions, budgets, and other data so you can see all features in action.
Demo data is clearly marked with a banner on the Dashboard. You can remove it at any time in Settings → Danger Zone.
 Welcome Wizard — sample data option
After Completing the Wizard
Once you've gone through all the steps, you'll land on the Dashboard — your main screen in the application. If you enabled demo data, you'll see it right away. If not — the Dashboard will be empty and ready for your first data.
On the Dashboard, you'll also see an onboarding checklist — a short list of steps to complete that will help you set up the most important things (first wallet, first transaction, etc.).
Can I Change This Later?
Yes! Everything you set up in the wizard can be changed in the settings:
- Language → Account and Profile
- Categories → Categories (add, edit, delete any)
- Demo data → Privacy and Security (remove demo data)
See also:
- Application Tour — interactive tour of the features
- Categories — how to manage expense categories
- Dashboard — your main screen